Follow me as I make my way through the blogging and stamping worlds (who knew they could go hand in hand?)
Showing posts with label Big Shot. Show all posts
October 29, 2010
A Refresher Course on the Big Shot
The Sizzix Big Shot is a big deal! With the Big Shot you can cut over 50 different material types and duplicate creative and intricate designs quickly and easily. Stampin' Up! has designed exclusive dies that coordinate with current Stampin' Up! product lines--such as stamps and punches--as well as Sizzix dies that coordinate with the Stampin' Up! look and feel.
October 16, 2010
Another Quick and Simple Card
Hello! The more I see the Dark & Dreary stamp set the more I love it! I wanted to make another quick and simple card using this set and the Spider Web embossing folder. I believe the layout was originally a card sketch from SCS weekly card sketch challenges, many moons ago. An outline of the sketch has been hanging on the wall in front of my work space for months so I decided to finally use it!
The brads were embossed with Pumpkin Pie craft ink and clear embossing powder. I usually do brads in either groups 3 or 5 (someone once told me that odd numbers are more visually pleasing to the eye), but unfortunately there wasn't enough room under sentiment to use 3.
Stamps: Dark & Dreary
Ink: StazOn Black, Craft & Classic Pumpkin Pie
Paper: Rich Razzleberry, Whisper White, Old Olive, Pumpkin Pie
Tools & Accessories: Big Shot, Spider Web embossing folder, brads, heat tool, clear embossing powder, dimensionals, 1/2" circle punch
The brads were embossed with Pumpkin Pie craft ink and clear embossing powder. I usually do brads in either groups 3 or 5 (someone once told me that odd numbers are more visually pleasing to the eye), but unfortunately there wasn't enough room under sentiment to use 3.
Stamps: Dark & Dreary
Ink: StazOn Black, Craft & Classic Pumpkin Pie
Paper: Rich Razzleberry, Whisper White, Old Olive, Pumpkin Pie
Tools & Accessories: Big Shot, Spider Web embossing folder, brads, heat tool, clear embossing powder, dimensionals, 1/2" circle punch
Labels:
Big Shot,
dyed brads,
Halloween,
spider web embossing folder
October 6, 2010
Letterpress Plates Tutorial - A Must See!
Watch Stampin' Up! facilitator, Shannon West, demonstrate how to use the brand-new Letterpress Plates, which let you add an inked debossed look to a variety of projects, reminiscent of an old-world letterpress. Letterpress plates ($5.95-$7.95) can be found on page 42 of the Holiday Mini Catalog. These plates let you add an inked debossed look to a variety of cards, invitations, pages and decor. Use with the Big Shot machine, multipurpose platform, standard cutting pads and Craft Stampin' Ink. Instructions for use are included with each plate.
Labels:
Big Shot,
letterpress plate,
video
October 3, 2010
Halloween Candy Holders
Hello! Today's project was inspired by Mary Brown's Two Tags Halloween Treat tutorial over at Stamper Camper's Corner. I literally saw her post on SCS and immediately ran to my stamp room to try my hand at these super cute treat holders! Good thing I had gone to the Dollar Store earlier in the morning to pick up some Kit Kat and Hershey bars just for the purpose of stamping!
In her tutorial she uses Dove chocolate so I did have to adjust my measurements to fit the mini chocolate bars I had. For the spider web holder, I used the larger of the two tags, folded along the pre-made score line and then scored a second line at 1 1/2" (measuring up from the bottom). I used the Spider Web embossing folder with Basic Black card stock but then gently ran my White Craft ink over the raised web. The web was cut down to 2 1/4"x3" and adhered to the front of the tag. Mary chose to staple her scallop circles but I adhered mine with Terrifically Tacky Tape, making sure to not tape the bottom!! I should mention that the spider web will actually pull forward so that you can get to the chocolate (I forgot to take a picture of that!)
For the second holder I used the smaller tag from the Two Tags die. Again, because I was using a different chocolate bar I had to adjust my measurements just a bit. I scored my tag at 1 1/2" and 1 7/8" (measuring from the bottom). It's hard to tell from the photo but "a little treat" was embossed with clear embossing powder.
In her tutorial she uses Dove chocolate so I did have to adjust my measurements to fit the mini chocolate bars I had. For the spider web holder, I used the larger of the two tags, folded along the pre-made score line and then scored a second line at 1 1/2" (measuring up from the bottom). I used the Spider Web embossing folder with Basic Black card stock but then gently ran my White Craft ink over the raised web. The web was cut down to 2 1/4"x3" and adhered to the front of the tag. Mary chose to staple her scallop circles but I adhered mine with Terrifically Tacky Tape, making sure to not tape the bottom!! I should mention that the spider web will actually pull forward so that you can get to the chocolate (I forgot to take a picture of that!)
For the second holder I used the smaller tag from the Two Tags die. Again, because I was using a different chocolate bar I had to adjust my measurements just a bit. I scored my tag at 1 1/2" and 1 7/8" (measuring from the bottom). It's hard to tell from the photo but "a little treat" was embossed with clear embossing powder.Stamps: Dark & Dreary, Got Treats
Ink: StazOn Black, White Craft, VersaMark
Paper: Pumpkin Pie, Basic Black, Whisper White
Tools & Accessories: Big Shot, Two Tags die, Spider Web embossing folder, circle punches, scallop punch, heat tool, clear embossing powder, Terrifically Tacky Tape
September 25, 2010
Wicked Simple Halloween Card
Hello! I'm almost positive that today's card was inspired by a card I once saw on SCS. Unfortunately, I can't seem to find the inspiration card and therefore cannot give credit to the original artist. But then again, maybe I just had a stoke of creativity and it was your truly that designed the card! Nah.
Stamps: Dark & Dreary
Ink: Black StazOn, Cajun Craze
Paper: Basic Black, Whisper White, Rich Razzleberry
Tools & Accessories: Big Shot, Spider Web embossing folder, 1/2" circle punch
Anyhoo, this is a wicked simple card that took me less than 10 minutes to make (and you have to say wicked with a Boston accent - that's how we say it in New England!). Although Halloween is my most favorite holiday of all (yes, I like it even more than Christmas!), I'm not one to send out Halloween cards. But when I saw the spider web embossing folder in the Holiday Mini I just had to order it. And the
n I saw Heather Summers' Spooky Aviary Card and I just had to order the Dark & Dreary set (although she used Graveyard Gala on her card).
n I saw Heather Summers' Spooky Aviary Card and I just had to order the Dark & Dreary set (although she used Graveyard Gala on her card). I stamped the main image a second time using Cajun Craze. I then used the 1/2" circle punch to punch out the "31" and glued it to the original black image.
Stamps: Dark & Dreary
Ink: Black StazOn, Cajun Craze
Paper: Basic Black, Whisper White, Rich Razzleberry
Tools & Accessories: Big Shot, Spider Web embossing folder, 1/2" circle punch
Labels:
Big Shot,
Halloween,
spider web embossing folder
September 8, 2010
Jolly Holiday Sketch Challenge
Hello! Today's card was inspired by Sketch Challenge 294 over at Split Coast Stampers. If you've ever lost your stamping mojo I highly recommend trying a sketch challenge. I've done a few and I absolutely love them! The challenges change every Wednesday but you're free to look back at past sketches and complete those - there's no time limit or deadline.
I was dying to use the new Jolly Holiday DSP (pg. 174, $9.95) and I thought this would be the perfect time to open the package. The colors are gorgeous and the designs are very much my style and easy to work with (polka dots and stripes). The card base is 5 1/4" x 5 1/4" and will fit in the medium square envelopes. Because the base is so large it was impossible to use the Perfect Polka Dots embossing folder on the first Old Olive layer, which was my original plan. Instead, I used the Backgrounds #1 Texturz Plates, leaving the impression not quite as prominant as I had hoped for.
If you're thinking to yourself, "Hmmm, did she really use black in her Christmas card?" you're right, I did. Originally, I was going to use Chocolate Chip as a background color rather than the Basic Black but when I put it all together it just didn't look right.
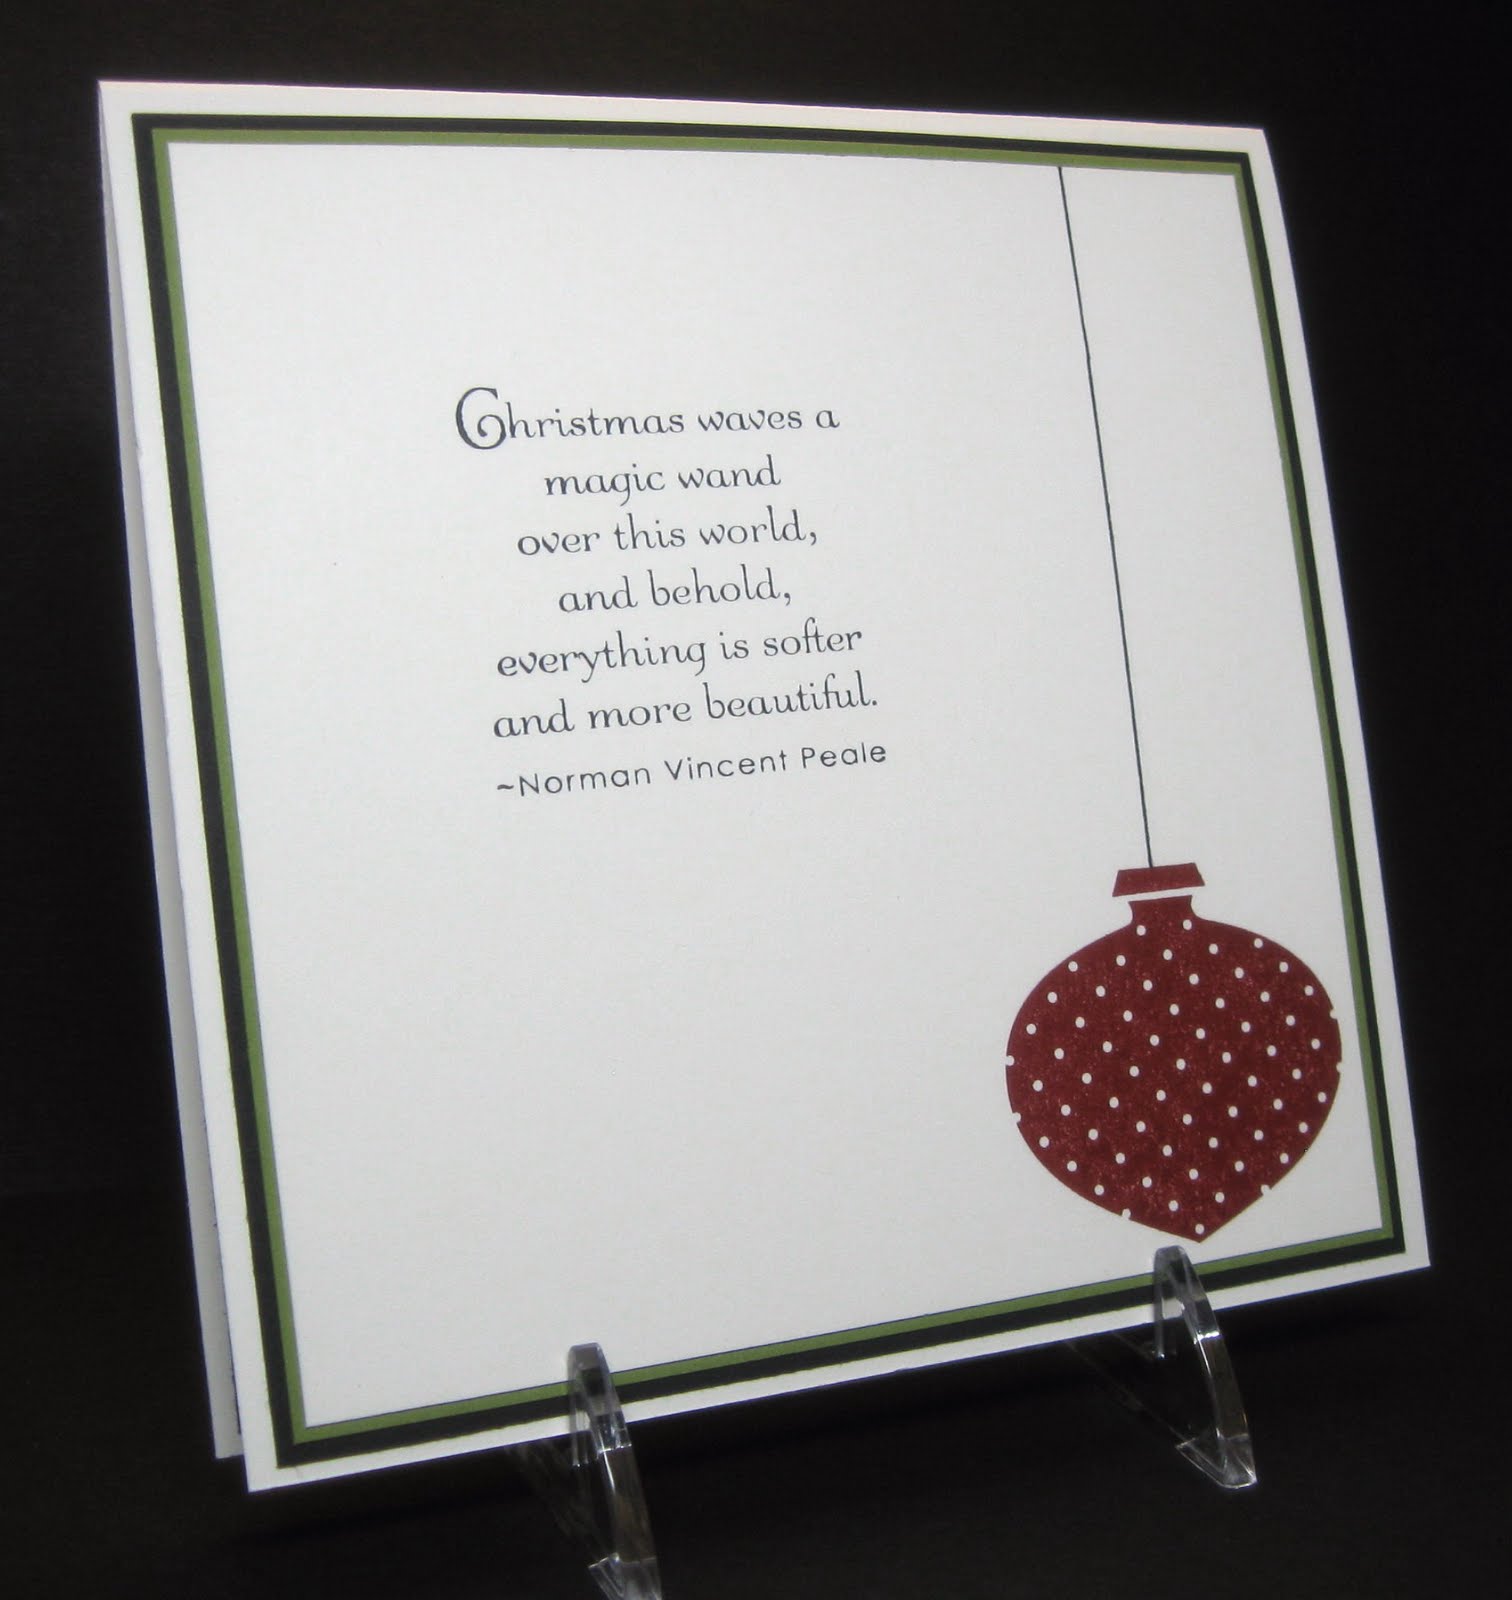
I've recently started to decorate the inside of my cards. Although this takes far less time than the card front I think it adds a classy touch to the finished product.
Stamps: Delightful Decorations, Occasional Quotes (hostess)
Paper: Very Vanilla, Old Olive, Cherry Cobbler, Basic Black, Jolly Holiday DSP
Ink: Old Olive, Cherry Cobbler, StazOn Black
Tools & Accessories: Backgrounds #1, Big Shot, ornament punch, 5/8" grosgrain ribbon, dimensionals
I was dying to use the new Jolly Holiday DSP (pg. 174, $9.95) and I thought this would be the perfect time to open the package. The colors are gorgeous and the designs are very much my style and easy to work with (polka dots and stripes). The card base is 5 1/4" x 5 1/4" and will fit in the medium square envelopes. Because the base is so large it was impossible to use the Perfect Polka Dots embossing folder on the first Old Olive layer, which was my original plan. Instead, I used the Backgrounds #1 Texturz Plates, leaving the impression not quite as prominant as I had hoped for.
If you're thinking to yourself, "Hmmm, did she really use black in her Christmas card?" you're right, I did. Originally, I was going to use Chocolate Chip as a background color rather than the Basic Black but when I put it all together it just didn't look right.
I've recently started to decorate the inside of my cards. Although this takes far less time than the card front I think it adds a classy touch to the finished product.
Stamps: Delightful Decorations, Occasional Quotes (hostess)
Paper: Very Vanilla, Old Olive, Cherry Cobbler, Basic Black, Jolly Holiday DSP
Ink: Old Olive, Cherry Cobbler, StazOn Black
Tools & Accessories: Backgrounds #1, Big Shot, ornament punch, 5/8" grosgrain ribbon, dimensionals
Subscribe to:
Posts (Atom)


