Hello! Today's card is another faux silk card - it's my new favorite technique.
I know the photo isn't the best but under the main image I used the paper piercing tool and stamped the "Merry Christmas" sentiment from the
Christmas Greetings stamp set in
Cherry Cobbler. When I demonstrated this card with the ladies from my stamping club they decided that stamping the sentiment in black StazOn ink looks much better - and I agree!
If you're not familiar with the
Faux Silk technique it couldn't be easier! Check out Lyssa Griffin Zwolanek's photo tutorial on her blog
here. This technique gives your card such a unique look
and feel; once you try it you'll be hooked!
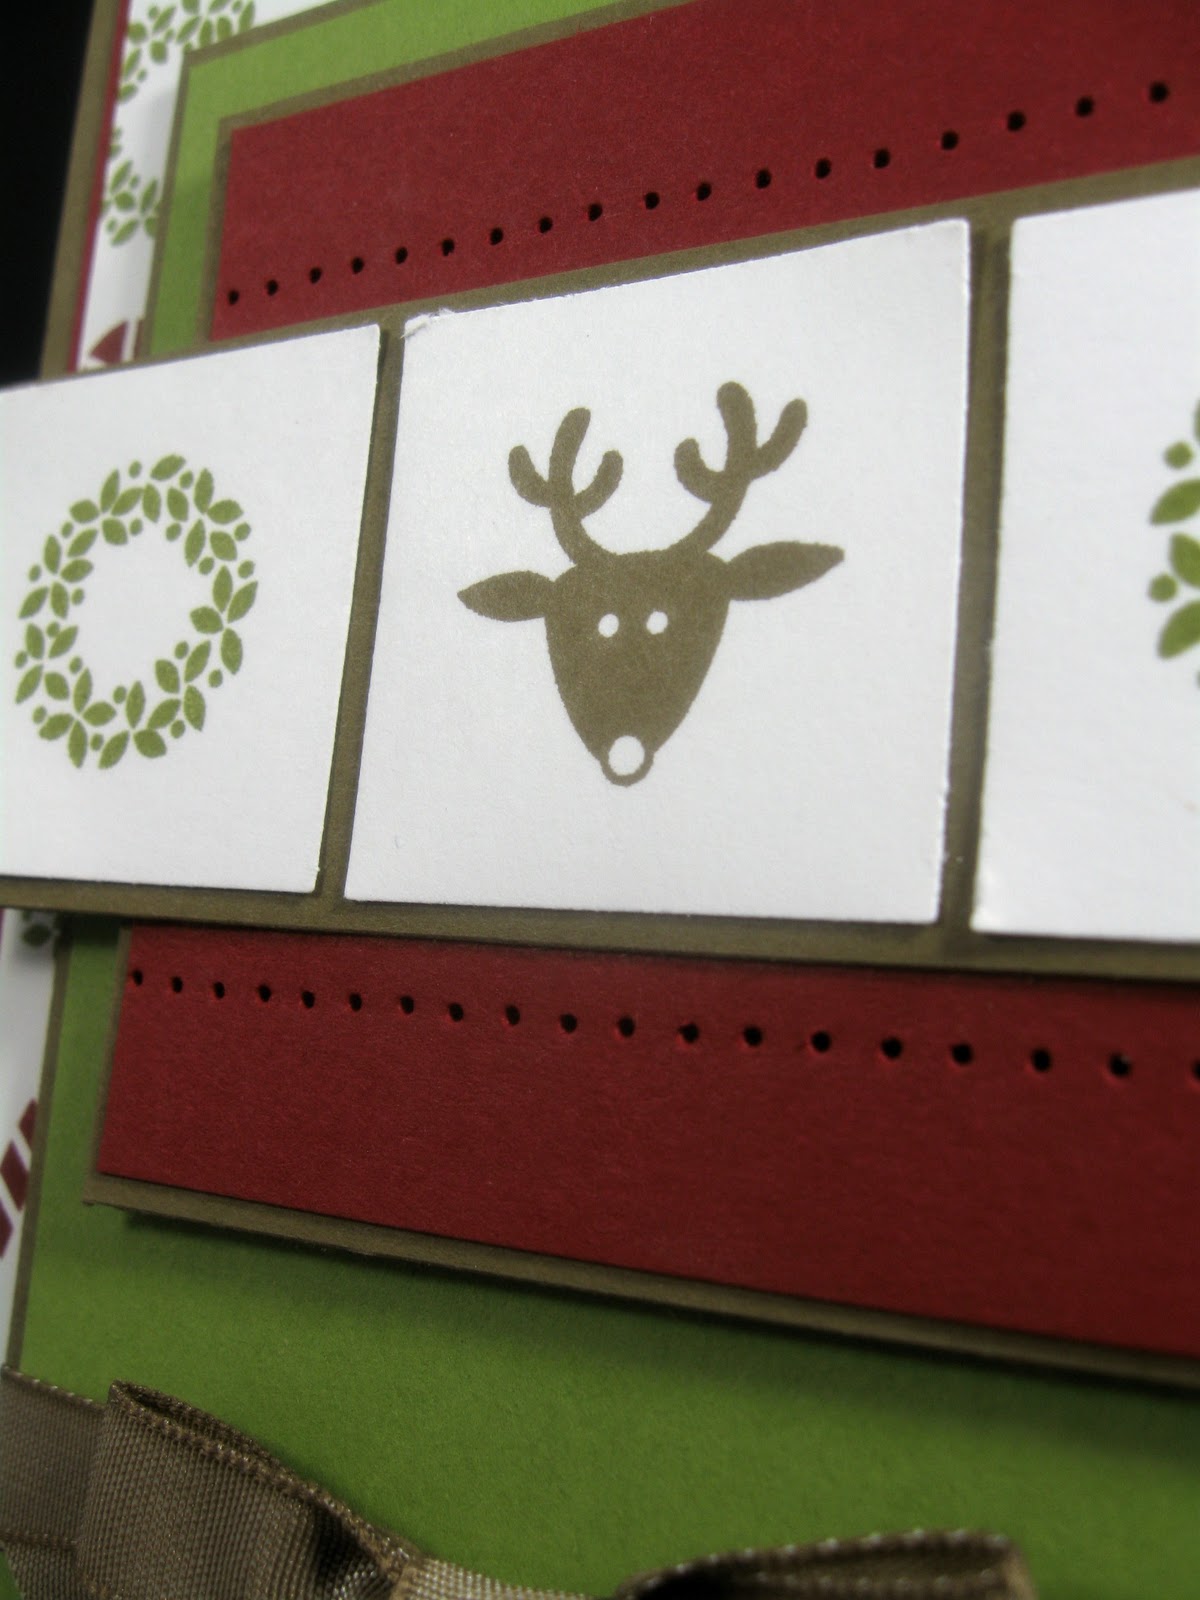
Stamps: Jolly Bingo Bits, Christmas Greetings
Paper: Cherry Cobbler, Old Olive, Whisper White
Ink: Cherry Cobbler, Old Olive, Daffodil Delight
Tools & Accessories: Paper piercing tool, Stampin' dimensionals