November 29, 2011

Thanksgiving Leftovers

     Hello!  It's Recipe Tuesday and today's recipe for leftovers is one of Aaron's delicious creations!  Stuffing Casserole is quick and easy to make and has almost all the tastes of a Thanksgiving dinner in one dish (minus the mashed potatoes).  The casserole can easily be made with leftover turkey and items you have in your pantry but shouldn't be limited to the days after Thanksgiving... substitute a rotisserie chicken for turkey and make this dish any time during the year.

Stuffing Casserole
  • 1 can cream of mushroom soup
  • 1/2 can of water
  • 2 cups dry stuffing
  • 1 1/2 -2lbs leftover turkey, cubed
  • Cheese
  • 3/4 cup craisins (optional)
  • 1/2 chopped walnuts (optional)

1.  Preheat oven to 350.  In a large oven-safe casserole dish (we prefer to use the Pampered Chef baker) combine soup, water, stuffing, turkey, craisins, and walnuts; mix well.  Top with cheese.

2.  Bake for 25-30 minutes, or until cheese is bubbly and brown.  Enjoy!

November 25, 2011

Simply Grateful

     Hello!  While I love the holidays I am so happy that Thanksgiving happens only once a year.  I think I spent more time in the kitchen than I did with the family.  But it was well worth in the end since lots of delicious food was eaten yesterday... maybe a bit too much good food!
     As you can see from the photo, yes, I picked up the Falling Leaves set AGAIN - I think I need help... This card was inspired by sweetnsassystamps' card (here) over at SCS.  Her colors are absolutely GORGEOUS and the layout is so simple - I love it.
   The lines at the bottom of the card were created using the new Simply Scored Scoring Tool (pg 7 of Holiday Mini).  This tool is amazing - I don't know how I managed without it!

Stamps: Falling Leaves
Ink: Cherry Cobbler, Pumpkin Pie, Daffodil Delight, Old Olive
Paper: Whisper White
Tools & Accessories: Simply Scored Scoring Tool, square punch, dimensionals

November 24, 2011

Faux Silk Leaves

     Hello and happy Thanksgiving!  In addition to watching the parade and cooking (we're hosting dinner) I will be spending the day with my family and reflecting on all the wonderful things I have to be thankful for.
     I was inspired to try the Faux Silk technique after seeing Lyssa Griffin Zwolanek's photo tutorial (here) on her blog, Song of My Heart.  This technique is incredibly easy and will make any recipient ask "how did you do that?"
     Following Lyssa's tutorial, the leaves were stamped on a coffee filter and then adhered to white CS with SU Anywhere Glue Stick.
     Rather than trim the excess coffee filter I decided to adhere it to the back, ensuring that it would not peel off if I inadvertently missed any spots with the glue stick.
     And Lyssa's right: once you've made one card with this technique you'll be running back to your kitchen cabinet for more filters so you can make more cards! :)
    
Stamps: Falling Leaves, Teeny Tiny Wishes
Paper: Whisper White, Soft Suede
Ink: Soft Suede, Pool Party, More Mustard
Tools & Accessories: Stampin' dimensionals

November 22, 2011

Apple Cinnamon Oatmeal Cookies

     Hello!  It's Recipe Tuesday and today's recipe for apple cinnamon oatmeal cookies comes from my FAVORITE cooking blog:  Sweet Pea's Kitchen
     These cookies were easy to make and even easier to eat!  They are loaded with apples, oatmeal and walnuts and incredibly moist.  I took a some into school with me and had quite a few requests for the recipe!  Christina did make an apple cider glaze to top off her cookies but I chose to leave them plain.

Apple Cinnamon Oatmeal Cookies
  • 1 cup flour
  • 1 1/4 cup old fashioned oats
  • 1/2 tsp baking powder
  • 1/2 tsp baking soda
  • 1/2 tsp salt
  • 1 tsp cinnamon
  • 1/4 tsp allspice
  • Pinch nutmeg
  • 1 medium apple, cored peeled, diced small
  • 1/2 cup butter, softened
  • 1/2 cup sugar
  • 1/2 cup brown sugar, packed
  • 1 egg
  • 1 tsp vanilla
  • 3/4 cup chopped walnuts
For Apple Cider Glaze
  • 1 cup confectioners' sugar
  • 2 tablespoons apple cider
1. Preheat oven to 350.  In large bowl whisk together flour, oats, baking powder, baking soda, cinnamon, allspice and nutmeg; set aside.

2. In bowl of a stand mixer fitted with paddle attachment cream butter and sugars until light and fluffy, about 3 minutes.  Add egg and vanilla and beat until combined, about 30 seconds.  Add the dry ingredients and beat at low speed until just combined, about 30 seconds.  Fold in apples and walnuts with a rubber spatula.

3.  Drop by rounded tablespoon onto baking sheets, about 2 inches apart.  Bake 10-13 minutes or until the bottoms are light golden color.

4. Transfer cooked cookies to a wire rack and cool completely.

5. To make the apple cider glaze: in small bowl combine confectioners' sugar and apple cider.  Drizzle over cookies.

November 20, 2011


     Online ExtravaganzaStampin' Up's annual sale to kick off the holiday shopping season, will begin Monday, November 21, 2011, and run through Wednesday, November 30, 2011. While this promotion is perfect for online orders during an especially busy time of year, sale prices will be available on all order types.
     To take advantage of great savings, like FREE digital downloads valued at $40 when you buy My Digital Studio Express, 60 percent off select Designer Fabrics, and 30 percent off an exclusive ribbon bundle, I encourage you to log onto my Online Store (here) on Monday, November 21st.

     In addition, there will be two items on sale for 24 hours only (November 21, 12:01 AM - 11:59 PM [MT])-so make sure you don't miss the first 24 hours of Online Extravaganza

November 18, 2011

Happy Thanksgiving

     Hello!  Today's card uses (wait for it....) the Falling Leaves stamp set, are you surprised?  I just can't get enough of this set. 
     The color combination for the leaves came from the Spice Cake DSP in the Holiday Mini.  Of course, as soon as my husband saw this card he said: "blue leaves, there are no blue leaves!"  I then had to explain that this was a very popular color scheme and it's perfectly normal to see blue leaves on SplitCoast.  Gotta love him!
     And yes, I did cut out all those leaves, but that's my thing.  I find it kinda relaxing to cut them out and I think it adds a little something to the card.

Stamps: Falling Leaves, Teeny Tiny Wishes
Ink: Pool Party, Soft Suede, More Mustard
Paper: Whisper White, Soft Suede
Tools & Accessories: Stampin' dimensionals

November 15, 2011

Pistachio Chicken

     Hello!  It's Recipe Tuesday and Pistachio Chicken comes from the October issue of Woman's Day.  You won't miss the deep fryer with this crispy and slightly tangy oven baked dish.  Ok. it's confession time.... I have to be honest and say I didn't cook this dish - Aaron did.  After a long day a school I came home to find this absolutely delicious dish waiting for me.. I know, I'm lucky :)
     The original recipe is based on four servings.  Since there's only the two of us we only cook two breasts at a time.  To serve two we found 1/2 lb pistachio's in the shell should be enough for two chicken breasts, double this for 4 breasts.  Aaron served this with a side of couscous and mixed vegetables. 

Pistachio Chicken
  • 1/2 cup pistachios, finely chopped
  • 1/2 cup panko bread crumbs
  • 1/4 cup fat-free Greek yogurt
  • Olive oil
  • Chicken breasts
  • Salt & pepper

1. Preheat oven to 350.  Line baking sheet with foil or parchment paper.  In shallow bowl combine pistachio's,  panko and 1 tbsp oil.

2. Season chicken with salt and pepper.  Brush chicken with yogurt and coat with pistachio mixture, pressing gently to help it adhere.

3. Place chicken on prepared baking sheet and bake until golden brown and cooked through,  25-30 minutes.

November 12, 2011

I Love, Love {LOVE} This Card!

     Can I say that about my own card?!  Well, it's not 100% my card, it was inspired by dancerriley's Happy Thanksgiving card (here) over at SCS.  I instantly loved Riley's layout and since some of her supplies have retired I had to improvise and use what I have on hand.
     I will admit that this card did take a bit to create and is certainly not a quick make.  BUT, I think the time and effort is well worth it, especially if you are using it as a Thanksgiving card.

Stamps: Falling Leaves (what else?)
Ink: Pumpkin Pie, Early Espresso, Old Olive
Paper: Whisper White, Pumpkin Pie, Old Olive, Early Espresso
Tools & Accessories: Square punch, paper piercing tools, Early Espresso grosgrain ribbon, dimensionals

November 8, 2011

Best-Ever Apple Cake

     Hello!  It's Recipe Tuesday and the best-ever apple cake recipe comes from the October 2009 issue of Redbook magazine (are you seeing an apple theme in my recipes lately?).  I may have mentioned this a million times before but fall is my most favorite time of the year and while winter is just around the corner I'm hanging on to it for as long as I can - I'm so not ready for snow! 
     Aaron and I met up with my folks at Carter Hill Apple Orchard a few weeks ago and picked up a peck of freshly picked Cortland apples.  When we got home I couldn't resist searching through my apple recipes to find something I hadn't made in a while; I finally settled on apple cake.  The cake is dense yet moist with just a hint of orange flavor.  Sprinkle it with a bit of powdered sugar and serve slightly warm with a scoop of vanilla ice cream - yum!

Best-Ever Apple Cake
  • 3 cups flour
  • 1 3/4 cups sugar, plus 1/4 cup
  • 2 tsp cinnamon
  • 4 large apples, peeled, cored and sliced
  • 1 tbsp baking powder
  • 1 tsp salt
  • 4 eggs
  • 1/2 cup vegetable oil
  • 1/2 cup butter, melted
  • 1/4 cup orange juice
  • 2 tsp vanilla extract
1. Preheat oven to 350.  Spray a 10-inch removable-bottom tube pan with nostick spray.

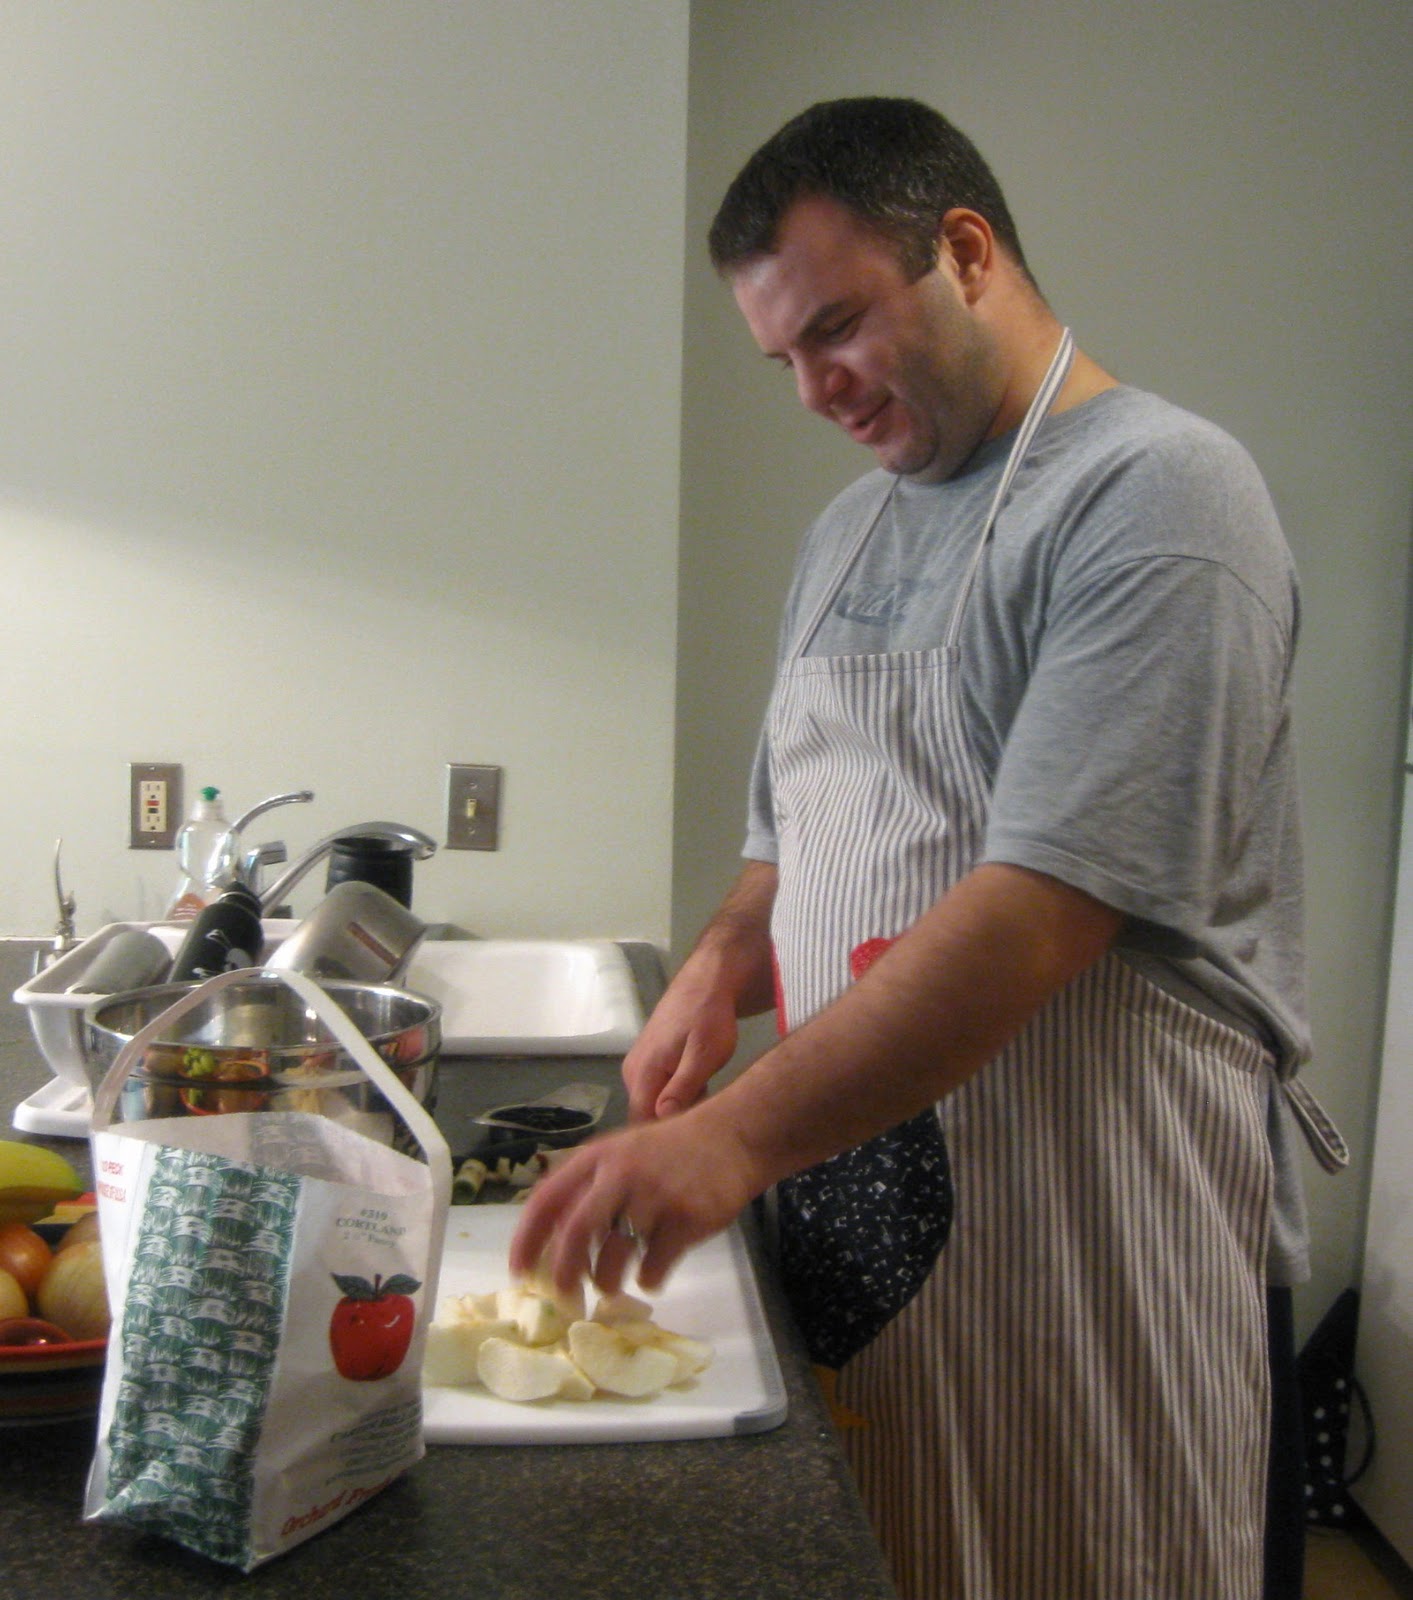
Aaron helped slice the apples!
2. In large bowl, mix 2 tablespoons of flour, 1/4 cup sugar, cinnamon and apples until coated.

3. In mixing bowl, beat eggs, oil, butter, orange juice and vanilla.  Slowly add flour, sugar, baking powder and salt.  Beat until batter is smooth.

4. Pour half the batter (about 2 cups) into prepared pan.  Top with half of apple mixture.  Spoon remaining batter over apples and top with remaining apples, placing them 1/4" in from the tube and border of the cake.

5. Bake 1 hour 20 minutes, or until a toothpick inserted in the center of the cake comes out clean.  Let cake cool in pan on wire rack for 30 minutes.  Run a paring knife around the sides and center and turn cake out onto wire rack.  Invert cake onto another rack to cool, apple sides up.

** I no longer grease and flour my baking pan - I use Wilton's Cake Release.  Simply spread Cake Release on bottom and sides of pan with pastry brush and fill with batter.  Cakes release easily EVERY time!  You can order this online at Wilton.com or pick it up at Michael's for around $4.

Cake Release
.

November 4, 2011

Grateful in Suede

     Hello!  Today's card was inspired by macmad2's Falling Leaves for Thanksgiving card (here) over at SCS.  Yes, this is the "umpteenth" card I've made with the Falling Leaves set but there are just sooo many wonderful cards over at SCS for inspiration that I just can't put this set down!
     To make the card more of my own I changed the color scheme just a bit and opted to use a piece of Soft Suede DSP as a background.

Stamps: Falling Leaves (LOVE this set!)
Ink: Old Olive, More Mustard, Bravo Burgundy, Soft Suede
Paper: Very Vanilla, Soft Suede, Patterns DSP (suede)
Tools & Accessories: Square punches, Early Espresso grosgrain ribbon, dimensionals

November 1, 2011

The {Best} Apple Pie - Ever!

     Hello!  It's Recipe Tuesday and this Apple Pie  recipe comes from The Grand Central Baking cookbook.  This pie is incredibly easy to make and absolutely delicious.  It's perfect for a crisp autumn evening, especially with a scoop of vanilla ice cream.
     A few tips... I haven't perfected homemade pie crust so I prefer to use Merico brand refrigerated pie crust rather than Pillsbury (gasp); it tastes better and is less expensive.  I've only recently started to see this at my local grocery store so I'm not sure if it's available in all areas.
     Definitely use firm, tart apples, like the recipe suggests.  We picked up ours at the local apple orchard and they were a bit too soft, making the pie filling a little juicy.  Not that this was a bad thing but if you're going for presentation it could be a problem.
   I sprinkle a packet of "Raw Sugar" (the little brown packets of sugar at the coffee shop) on the top of the pie.  This gives the pie crust a bit of crunch and looks pretty too.
     I have to admit that these are not the best photos of the pie... I forgot to take the foil off the crusts 10 minutes before it was finished so it looks a little unbaked around the edges and overcooked in the middle.  

 Apple Pie
  • 2 pie crusts
  • 2 lbs firm, tart apples (4-5 large apples)
  • 3/4 cup granulated sugar
  • 1/2 cup packed light brown sugar
  • 1 tsp cinnamon
1. Peel, core and slice apples into 1/2" slices.  You should have about 8 cups.  Toss apples with sugars, cinnamon and set aside for an hour or so, until they begin to release some of their juices.  (This helps prevent the apple slices from shrinking in the oven as they lose their juices, which creates large gaps between the crust and fruit)

2.  Preheat oven to 375.  Place one pie crust in pan and pour apple filling onto crust.  Cover with second crust and crimp edges.  Cut several steam vents in top crust.

3.  Bake for 30 minutes, then rotate pan and lower oven temp to 350.  Bake for an additional 30 minutes or until crust is golden brown and the filling is bubbling.