October 30, 2011

I think the date says it all - yes, this really was taken on October 30th.  It's a good thing I love living in New England!

October 28, 2011

Baja Leaves

     Hello!  Today's card was inspired by Minders card (here) over at SCS which is a CASE of Susie Nelson's card (here) also over at SCS.  I absolutely LOVED the colors Mindy used on her card but since I don't have all the new In-Colors (gasp!), I used what I had on hand.  I also added a bit of paper piercing under the sentiment rather than a Designer Printed Brad.
     Choosing the coordinating colors for this card was quite easy - I used my Color Coach!  I'll be honest and say that I have no idea how I functioned without this little tool - it's amazing!  No more guessing if colors coordinate, just look them up on the Coach and you're an instant color expert!

Stamps: Falling Leaves
Ink: Baja Breeze, Cherry Cobbler, More Mustard, Not Quite Navy, Wisteria Wonder
Paper: Baja Breeze, Whisper White
Tools & Accessories: 1-1/4" circle punch, paper piercing tool, dimensionals

October 25, 2011

Mini Apple Crisp

     Hello!  It's Recipe Tuesday and today's recipe for mini apple crisp actually came from a parent of one of my students.  During our apple themed week back in September one of my little cherubs brought two of these in for me as a snack (what a sweetie) but as soon as I took a bite I knew I HAD to have this recipe.  They taste just like an apple crisp, just smaller.
      I should note that the recipe claims you'll be able to make 48 mini crisps but I was only able to get 24.  Of course, if Aaron and I hadn't "sampled" the batter as we were baking I may have been able to squeeze out a few more.  It's also not a recipe for someone on a diet; there's a cup and a half of butter in the batter.  Yes one whole cup and another half of butter.
     Little tip: let crisps cool completely before removing from pan and don't refrigerate them in the pan, you'll never be able to get them out (we found out the hard way).

Mini Apple Crisps
  • 3 large McIntosh apples, peeled, cored and chopped
  • 1/4 cup water
  • 2 tbsp white sugar
  • 1 1/2 tsp cinnamon
  • 2 cups flour
  • 2 cups rolled oats
  • 1 1/2 cups brown sugar
  • 1/2 tsp nutmeg
  • 1 1/2 cups butter
1. Preheat oven to 350.  Grease mini muffin tin.

2. Mix apples, water, white sugar and 1/2 tsp of cinnamon together in a saucepan and bring to a simmer over medium heat, stirring occasionally.  Simmer until apples are partially cooked, about 5 minutes.  Remove from heat.

3.  Combine flour, oats, brown sugar, 1 tsp of cinnamon and nutmeg together in large bowl; cut the butter into the flour mixture with a pastry cutter until the mixture looks like coarse crumbs. 

4.  Place a heaping tablespoon of the crust mixture into a mini muffin cup, press it into the cup so that it covers the bottom and pushes up the sides of the cup.  Make the crust go all the way to the top of the little muffin cup, and patch any holes with more crust mixture.  Place about 2 teaspoons of apple filling in the crust.  Sprinkle about 1 teaspoon of the remaining crust mixture on the filling.

5. Bake 15-20 minutes or until crust is golden brown.

October 21, 2011

Beautiful Butterflies

 Hello! Today's card was inspired by StamperJen0's Happy Day to You! card over at SCS.  I absolutely loved her layout and to make the card more of my own I decided to break out my Wisteria Wonder card stock (I LOVE that color!).  I used the Color Coach to help me choose colors that would coordinate with the purple (LOVE that tool!)

Stamps: Teeny Tiny Wishes
Ink: Crumb Cake
Paper: Crumb Cake, Whisper White, Wisteria Wonder, Cherry Cobbler, Pink Pirouette
Tools & Accessories: Big Shot, Beautiful Wings embosslits die, paper piercer, modern label punch, grosgrain ribbon

October 18, 2011

Crisscross Apple Muffins

     Hello!  It's Recipe Tuesday and Crisscross Apple Muffins comes from one of my many Pampered Chef recipe books (anyone else out there LOVE every recipe they make?).  These muffins are loaded with fresh apples, raisins and walnuts..... perfect for a crisp autumn morning.
     I made these for a family gathering back in September and got rave reviews from everyone.  While the directions can be a bit tricky (I think it's harder to explain what you do than it is to actually DO it), once you get the hang of it it takes seconds to build each muffin.
     The original recipe calls for 1 pkg of 8 flaky biscuits and 1 pkg of 5 flaky biscuits.  I don't know where these test bakers do their food shopping, but I could not find a tube of Pillsbury Grands with anything less than 8 biscuits.  But no need to worry, I was able to use all 16 biscuits and still had a bit of leftover filling (even though the recipe said I'd have extra rolls).

 Apple Muffins
  • 4 Granny Smith apples
  • 1/2 cup chopped walnuts
  • 1/2 cup raisins
  • 3 tbsp flour
  • 3/4 cup sugar
  • 1 tbsp ground cinnamon
  • 2 pkg Pillsbury Grands biscuits (8 per tube)
  • 1 tbsp butter
  • Ice cream (optional)

1. Preheat oven to 350.  Peel, core and cut apples in 1/2" pieces.  Place apples, chopped walnuts, raisins, flour, 1/4 cup of sugar and 1 tsp cinnamon in mixing bowl and mix well.  Microwave apple mixture for 3 minutes (I did not do this last step)

2. Combine remaining sugar and cinnamon in small bowl.  Melt butter in separate bowl and set aside.

3. Separate 16 biscuits.  Lightly flour rolling pin and surface and roll biscuit into 5" circle (I recommend rolling 1 biscuit at a time since they tend to shrink while your not working with them)

4. Sprinkle biscuit circle with cinnamon-sugar mixture.  Scoop 1/4 cup of apple mixture (I used a teensy bit less than 1/4 cup).  Gather edges of biscuit over filling and pinch to seal.

5. Holding filled biscuits at sealed end, dip each biscuit in butter and then in cinnamon-sugar mixture.

6. Place biscuits, seam side down, into muffin pan.  Cut an "X" pattern with knife through top of each biscuit.  Bake 25-30 minutes or until golden brown.  Remove from pan and serve warm.

October 16, 2011

Sweet Pressed Cookies!


     Take your love of stamping into the kitchen!  Create fun and tasty stamped cookies for any occasion.  Fit a sillicone stamp over the wooden handle and press into dough - it's that easy!  To order this set click (here) or contact me today. 

October 14, 2011

{Grateful} for Falling Leaves

     Hello!  Today's card was inspired by HudsonHannah's {grateful} card (here) over at SCS.  If you have a chance you should check out the Falling Leaves gallery... there are soooo many great amazing cards that I had a hard time deciding which one to CASE first!  In the end I went with HudsonHannah's; I loved her layout decided to tweak the colors just a bit for my card.
     I  must admit that love the Falling Leaves stamp set and can't believe I waited so long to order it!  It's a great set to use during the fall season for thank you cards or you can use the Thanksgiving sentiment to create Thanksgiving cards.
     This card was super quick and easy to make and could easily be mass produced!    
Stamps:  Falling Leaves
Ink: Bravo Burgundy, More Mustard, Old Olive, Soft Suede
Paper: Bravo Burgundy, Crumb Cake, Very Vanilla
Tools & Accessories: Circle punch, button, linen thread

October 11, 2011

Marie's Famous Zucchini Bread

     Hello!  It's Recipe Tuesday and today's recipe comes from my mom, Marie.  For as long as I can remember I've had a severe dislike for vegetables.  So imagine my surprise when I realized that the delicious bread she had made all through my childhood contained a VEGETABLE.
     Now that I'm an adult I've started to look at veggie in a different light, especially if they're disguised in a sweet bread.  last week's recipe came from a magazine but this recipe was inspired by a trip to the local Farmer's Market earlier in the summer and seeing some ginormous zucchini's. I remembered my mom's bread and decided to give it a try.  It's super easy to make (especially if you have your husband grate the zucchini) and absolutely delicious.  We're a fan of walnuts in our house and decided to add those to the mix but you could certainly add pecans if you prefer those.

 
Zucchini Bread
  • 3 eggs
  • 2 cups sugar
  • 1 cup oil
  • 2 cups flour
  • 1/2 tsp baking soda
  • 1 tsp salt
  • 3 tsp cinnamon
  • 3 tsp vanilla
  • 1 cup chopped nuts
  • 2 cups grated zucchini

 
1. Preheat oven to 350.  Grease 2 loaf pans.

 
2. Beat eggs for 2-4 minutes using stand mixer. 

 
3. Grate zucchini and squeeze dry with paper towel.  Slowly add zucchini and remaining ingredients; mix until well blended.

 
4. Bake for 1 hour.  Let cool for 10-15 minutes before removing from pan.  Enjoy.

October 10, 2011

Marching Band Rocks LMFAO

     Hello!  This video has absolutely nothing to do with stamping or cooking but it's one that I just had to share.  My favorite song on the radio (for this week) is LMFAO's "Party Rock Anthem" and if you ever drive by me in my car and see me dancing it's because this song is on the radio (yes, I really dance in my car).   Great job Ohio University!

 <a href='http://www.bing.com/videos/watch/video/marching-band-performs-party-rock-anthem/1jrv0ydzt?videoId=1jrv0ydzt&amp;from=&amp;src=v5:embed::uuids' target='_new' title='Marching Band Performs 'Party Rock Anthem''>Video: Marching Band Performs 'Party Rock Anthem'</a>

October 7, 2011

Five Years Ago Today...

     I married my best friend.  I can't believe it's been 5 years already; it seems like only yesterday that Aaron was leaving lilacs and love notes on my doorstep (true story).  I can't wait for our next 50 years together - I love you!
   

Simple Butterflies

     Hello!  Today's card was inspired by Chat Wszelaki's Kindness Matters card over at her blog Me, My Stamps and I.  I absolutely LOVE Chat's blog; her work is amazing and if you haven't checked her out I highly recommend it!  To make this card more of my own I decided to use the Beautiful Wings embosslit die rather than the Kindness Matters stampset and omitted some of the layers.  It's a quick and simple version of her card!

Stamps: Baroque Motifs
Ink: Crumb Cake
Paper: Crumb Cake, Whisper White, Rich Razzleberry
Tools & Accessories: Big Shot, Beautiful Wings embosslit die, grosgrain ribbon

October 4, 2011

Zucchini Cake with Orange Glaze

     Hello!  It's Recipe Tuesday and today's recipe is one  found in the August issue of Martha Stewart Living.
Originally, the Zucchini Cake recipe calls for a bundt pan but since that seems to be the one pan we don't own, I used my angel food cake pan instead.  The recipe also called for anise seeds and cardamom (optional).  I'll be honest and say that I'm not a fan of anise and I have no idea what cardamom is so I don't use either when making the cake.  I haven't had any complaints that is was missing something so I'm thinking it's just fine to delete these two ingredients! 
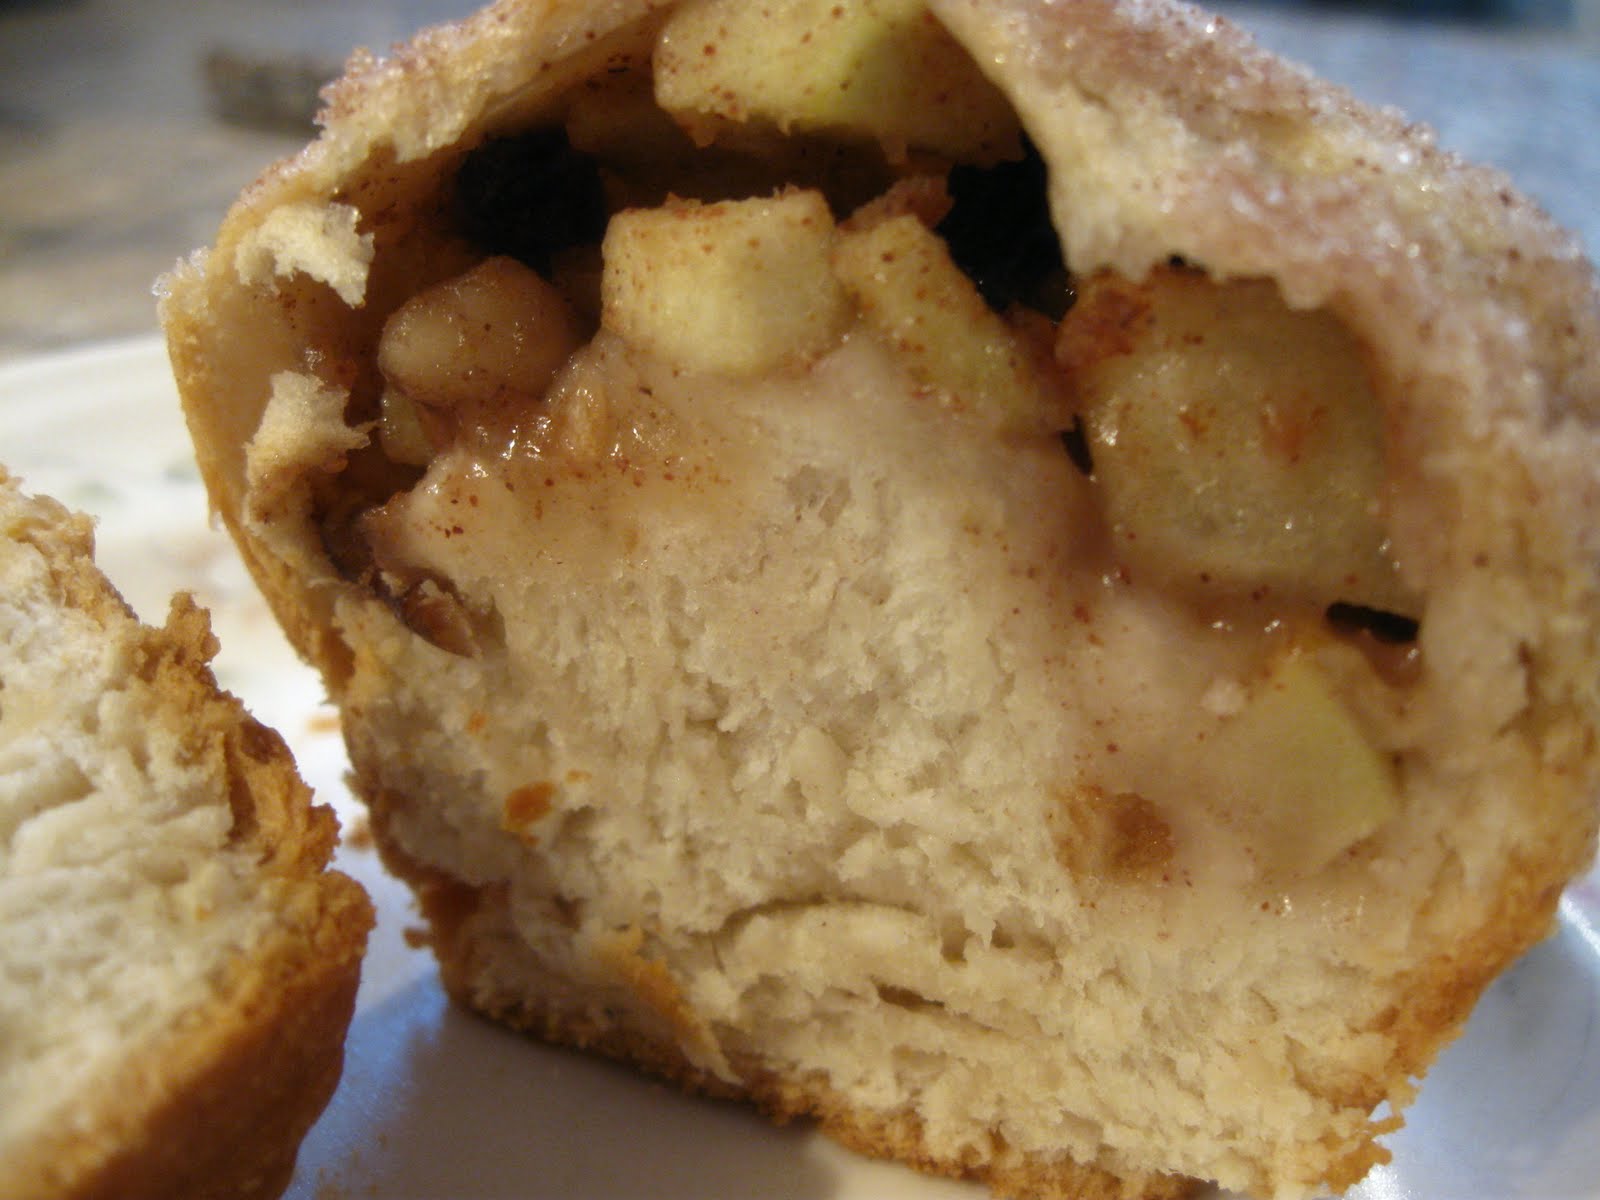
     And speaking of flavor, this cake is so moist and dense and yet the flavor is very light, you can hardly tell there's a vegetable in it!  It's the perfect way to get your child to eat veggies!
     And then there's the glaze... it is absolutely amazing, just a light hint of orange.  The original recipe calls for milk but I caution you about using this.  Because milk needs to be refrigerated, if you make the glaze with this you will need to keep the cake in the fridge, especially during warm summer months.  To avoid this need, I use water instead (there's no difference in taste); this allows you to store the cake in a covered container on the counter until it's gone (which was only two days at our house).

Zucchini Cake
1-1/2 sticks unsalted butter, melted
2-1/2 cups flour
2-1/2 tsp baking powder
1/4 tsp ground cinnamon
1/4 tsp anise seeds
1/8 tsp ground cardamom (optional)
Salt
2 medium zucchini
3 large eggs
1-1/2 cups sugar
1/2 tsp grated orange zest
1 tbsp orange juice

1.  Preheat oven to 325 and grease bundt pan. Whisk together flour, baking powder, spices and 1 tsp salt.

2. Grate zucchini on the large holes of a box grater, then squeeze dry in a clean paper towel (you will need 2-1/2 cups).

3. Stir together eggs and sugar, then stir in melted butter, zucchini, orange zest and juice.  Stir in flour mixture, transfer batter to pan.

4. Bake until a toothpick inserted into the center comes out clean, about 1 hour (cake will rise quite a bit but should not run over).  Transfer pan to wire rack and let cool for 10 minutes.  Loosen cake, turn out onto wire rack and let cool for at least 30 minutes.

Orange Glaze
1-1/4 cups confectioners' sugar
2 pinches ground cardamom (optional)
1/4 tsp finely grated orange zest

3 tbsp fresh orange juice
Whole milk, as needed for thinning (I use water)

1. Whisk together sugar and cardamom.  Whisk in orange zest and juice; combine until mixture has the consistency of thick honey.  If mixture is too thick, use milk/water, 1 tsp at a time.

2. Brush or pour glaze evenly over cake. 

October 3, 2011

OMG - I Can Stamp AND Bake at the Same Time

YEEEEEEEEES!  I can now combine my two favorite hobbies into one - all thanks to Stampin' Up!  You can now order the Sweet Pressed Cookie stamp set.  Yes, you read right - you can now stamp on cookies!  (Is is wrong that I think this is one of the best days ever?).

With this easy to use set you create fun and tasty stamped cookies for any occasion.  Fit a silicon stamp over the bottom of the wooden handle and press into dough - it's that easy.  Food-safe, easy to clean and dishwasher safe.
For the incredibly low price of $16.95 you will receive a wooden handle, three silicone cookie stamps (snowflake, heart and jack-o-lantern face) and a recipe for sugar cookies.

I pre-ordered this last month (one of the perks of being a demo) but haven't had a chance to use them yet.  As soon as I do I'll snap some photos and let you know how they turned out.
To place an order through my website click (here). 

Free Stamp Set

     During the month of October if you purchase two Simply Sent card kits you'll receive a FREE coordinating stamp set.  The Simply Sent kits are ideal for the beginning crafter or for those who a limited on time but want to give a handmade card.  The card kits offer a variety of basic themes, so it's easy to create cards for any occasion.


     The Simply Sent kits can be found on pages 192 & 193 of the Idea Book & Catalog and range in price from $11.95-$13.95.  The FREE stamp sets can also be found on pages 192 & 193.

To place an order through my website click (here).
To download a flyer with info about the promo click (here)